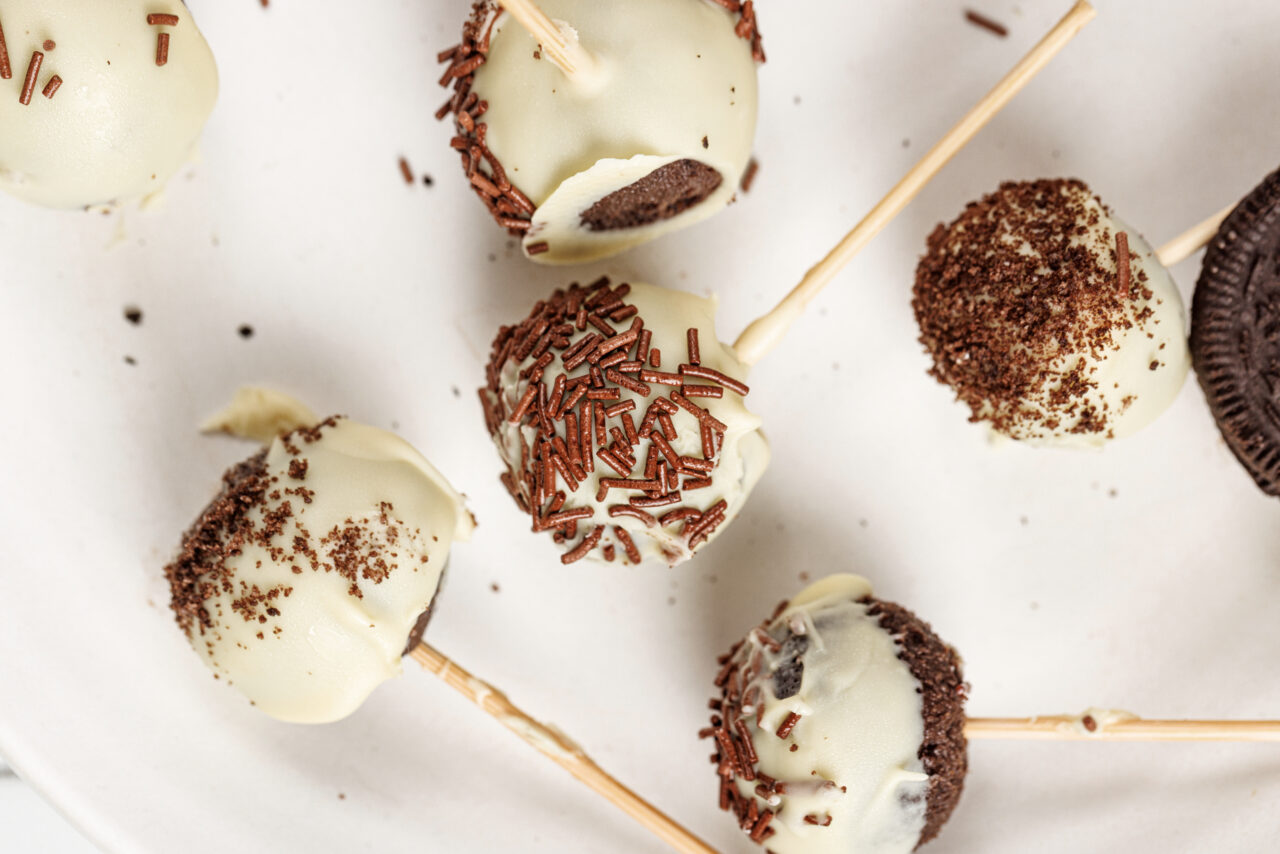
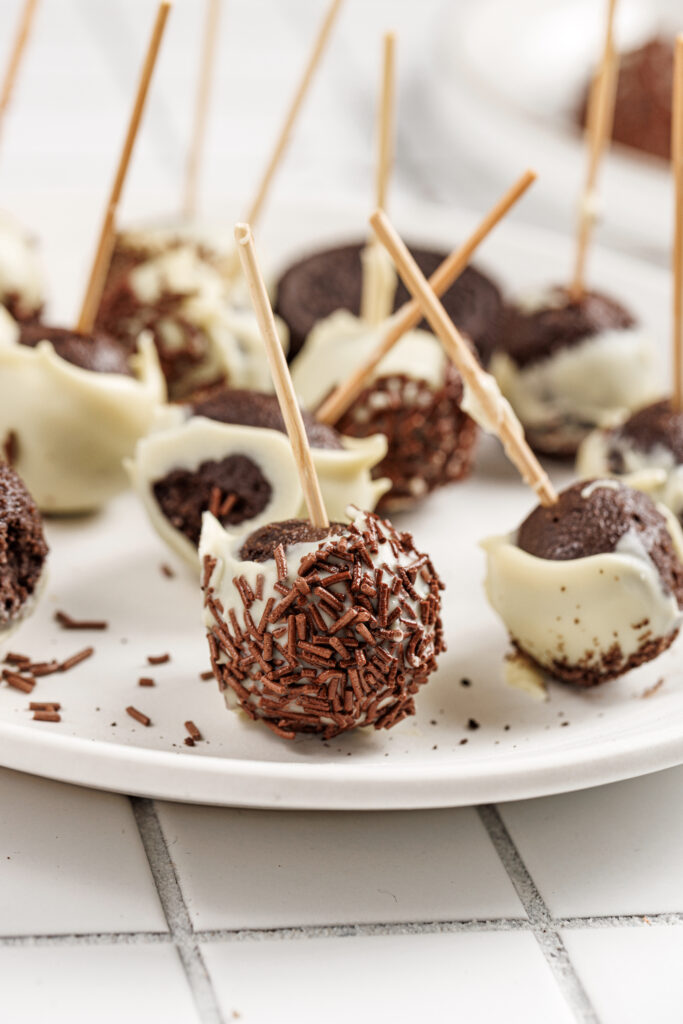
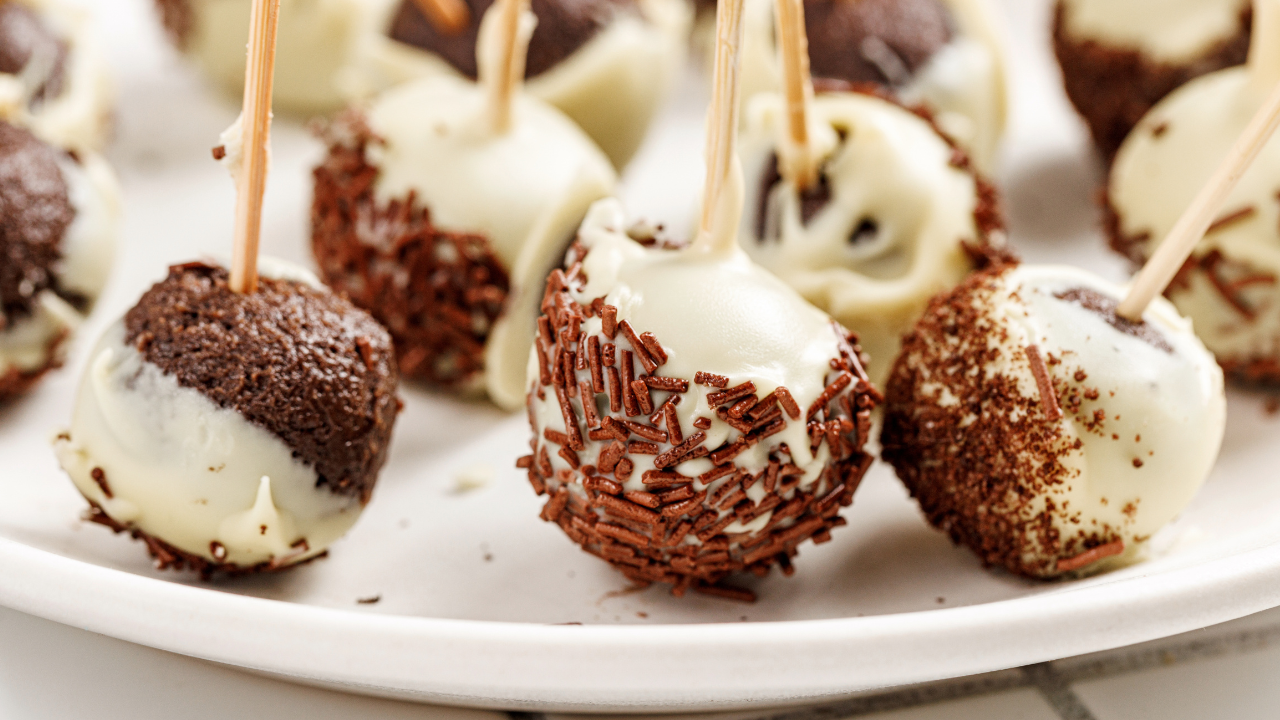
These no-bake Oreo cake pops are rich, creamy, and incredibly easy to make with just a handful of ingredients. Made with crushed Oreo cookies and smooth cream cheese, each bite is soft, chocolatey, and perfectly balanced with a sweet coating.
They come together quickly without any baking, making them ideal for parties, holidays, or when you need a simple last-minute dessert. The smooth chocolate shell adds the perfect crunch, while the inside stays soft and indulgent.
Customise them with your favourite toppings like sprinkles, crushed cookies, or drizzled chocolate to make them extra special. Whether you’re serving them at a celebration or enjoying them as a fun treat at home, these Oreo cake pops are always a crowd favourite.
Servings & Time
- Yields: About 20 pops
- Prep Time: 25 minutes
- Chill Time: 20–30 minutes
- Total Time: 45–55 minutes
Ingredients
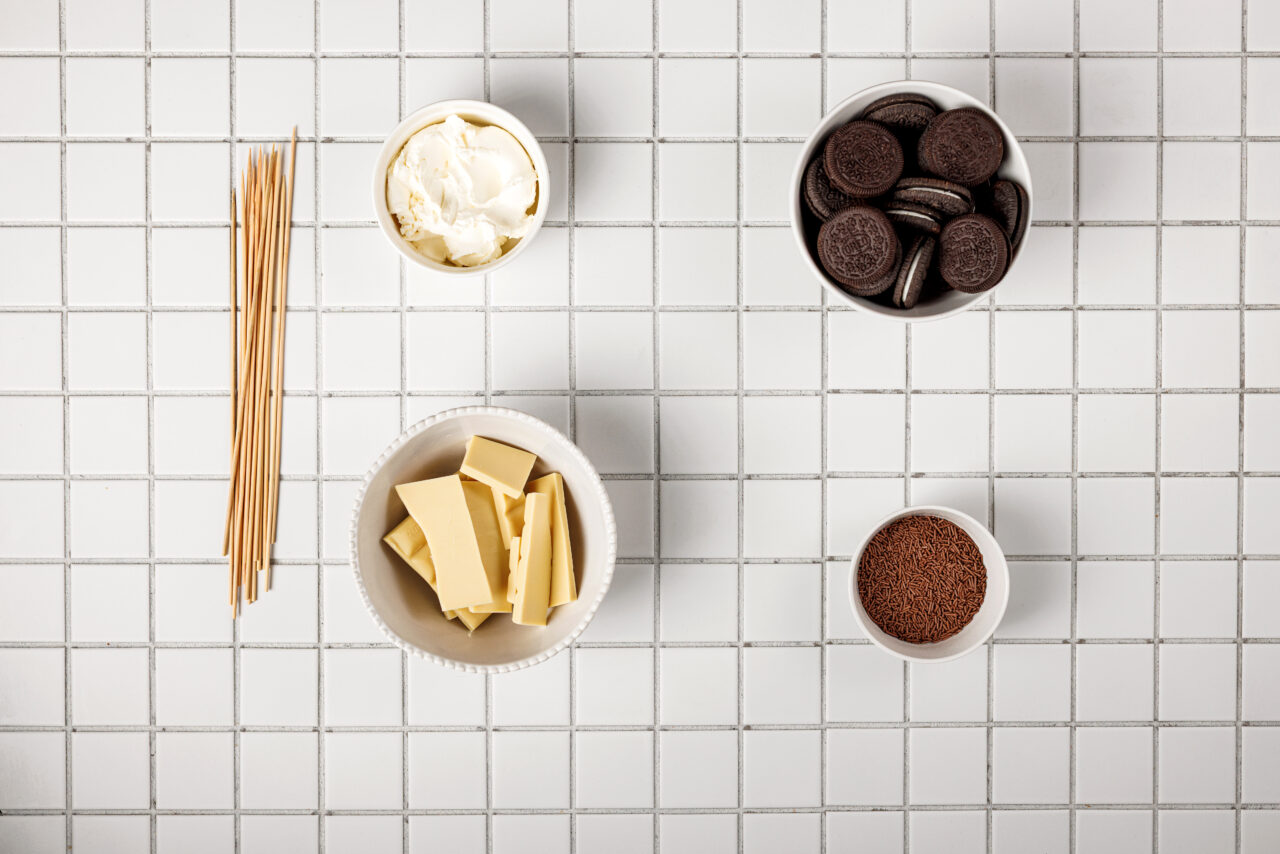
- 2 cups Oreo cookies, crushed (250 g)
- 4.5 oz cream cheese (125 g)
- 7 oz chocolate (milk, dark, or white) (200 g)
- 1 tbsp coconut oil (optional, for a smoother coating) (15 ml)
- Decorations: sprinkles, crushed cookies, chopped nuts, chocolate shavings
Instructions
Use a food processor to blend Oreo cookies into fine crumbs.
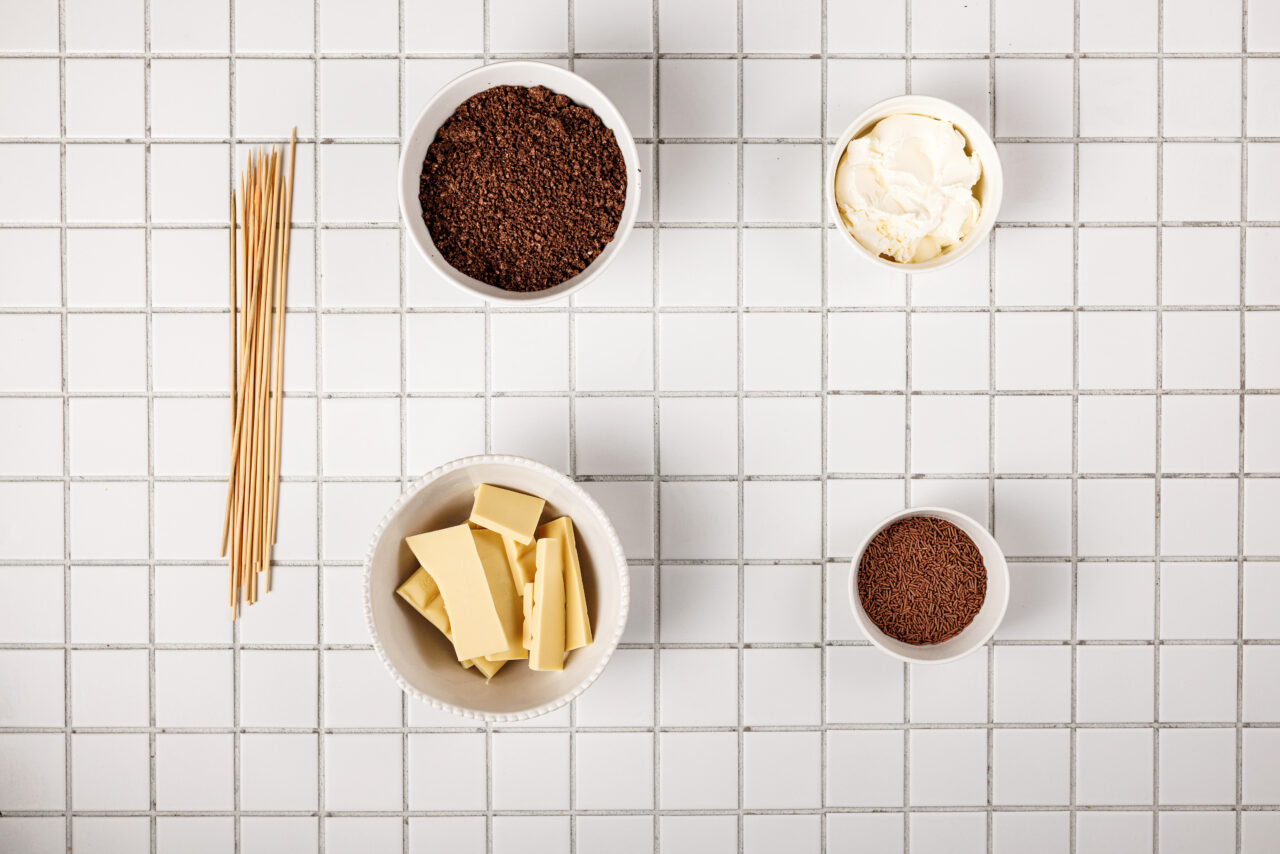
Add cream cheese and mix until a smooth, uniform dough forms.
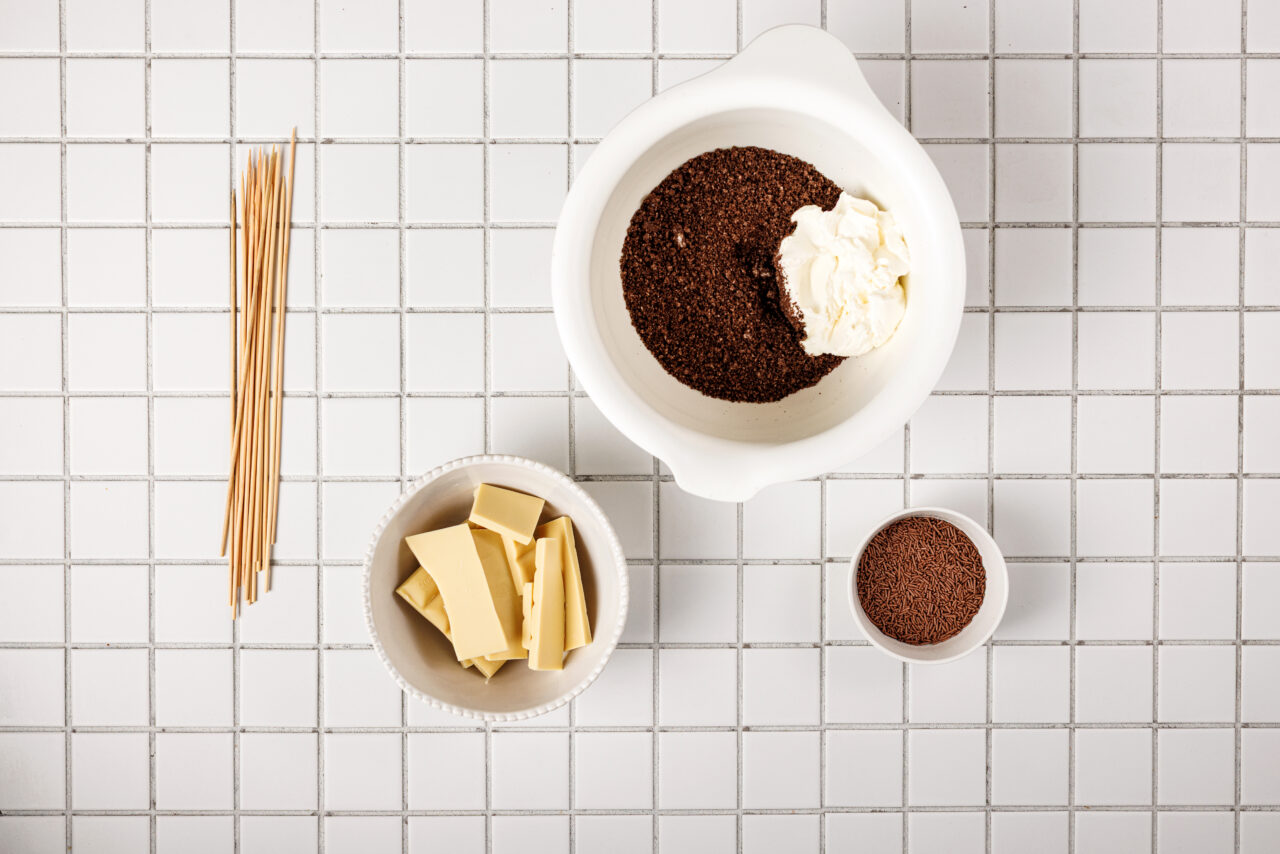
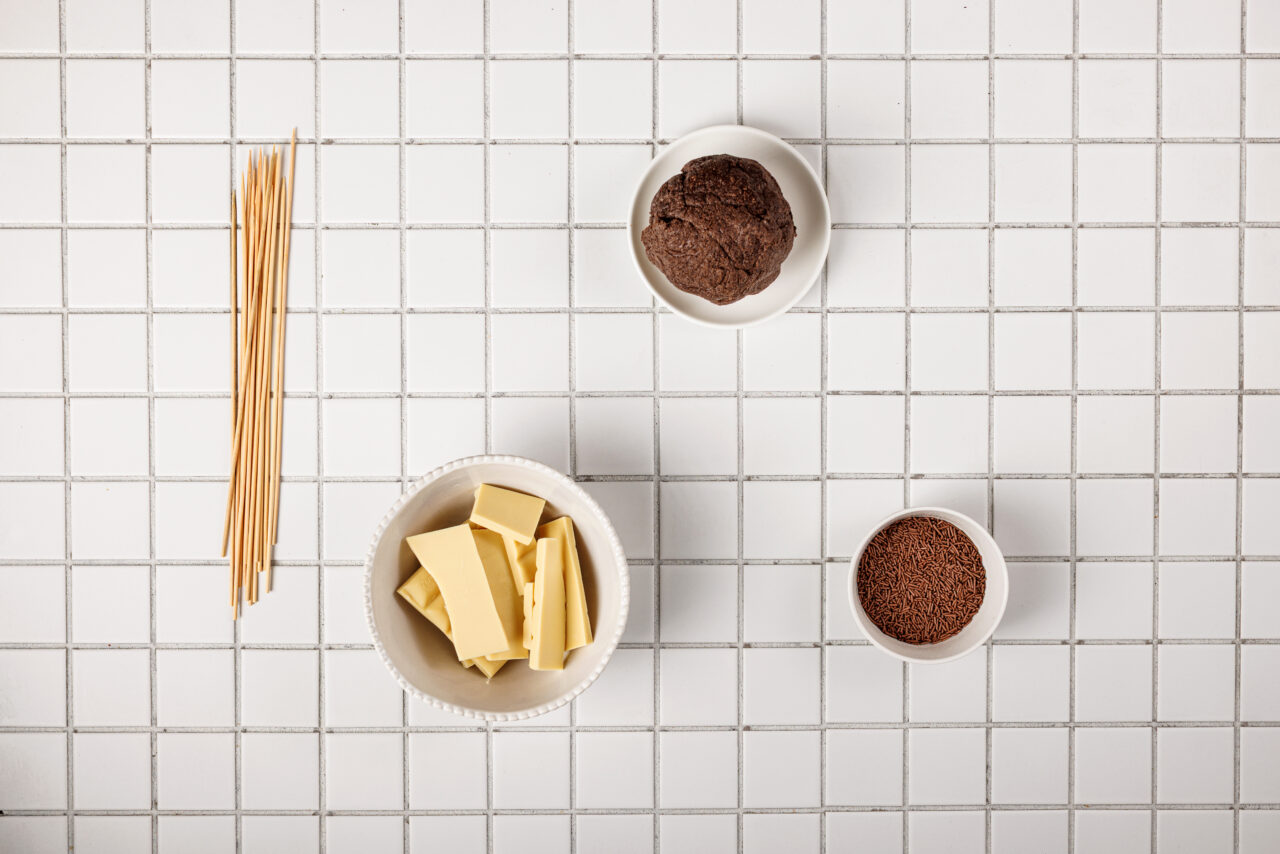
Roll the mixture into balls, about 1 inch (3 cm) in diameter. Place on a plate and refrigerate for 20–30 minutes or freeze for 10 minutes to firm up.
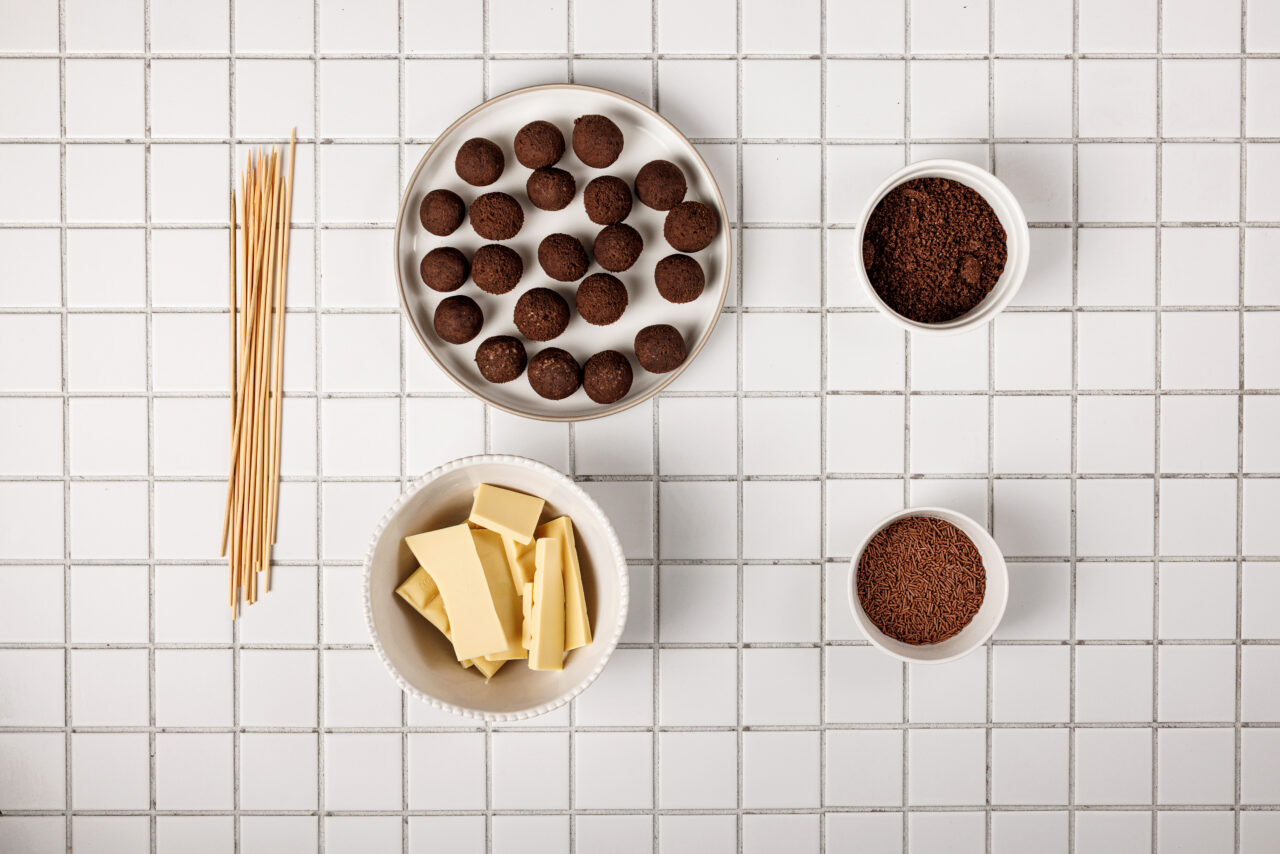
Melt chocolate in a double boiler or microwave in 15–20 second intervals, stirring until smooth. Stir in coconut oil, if using, for added shine and smoothness.
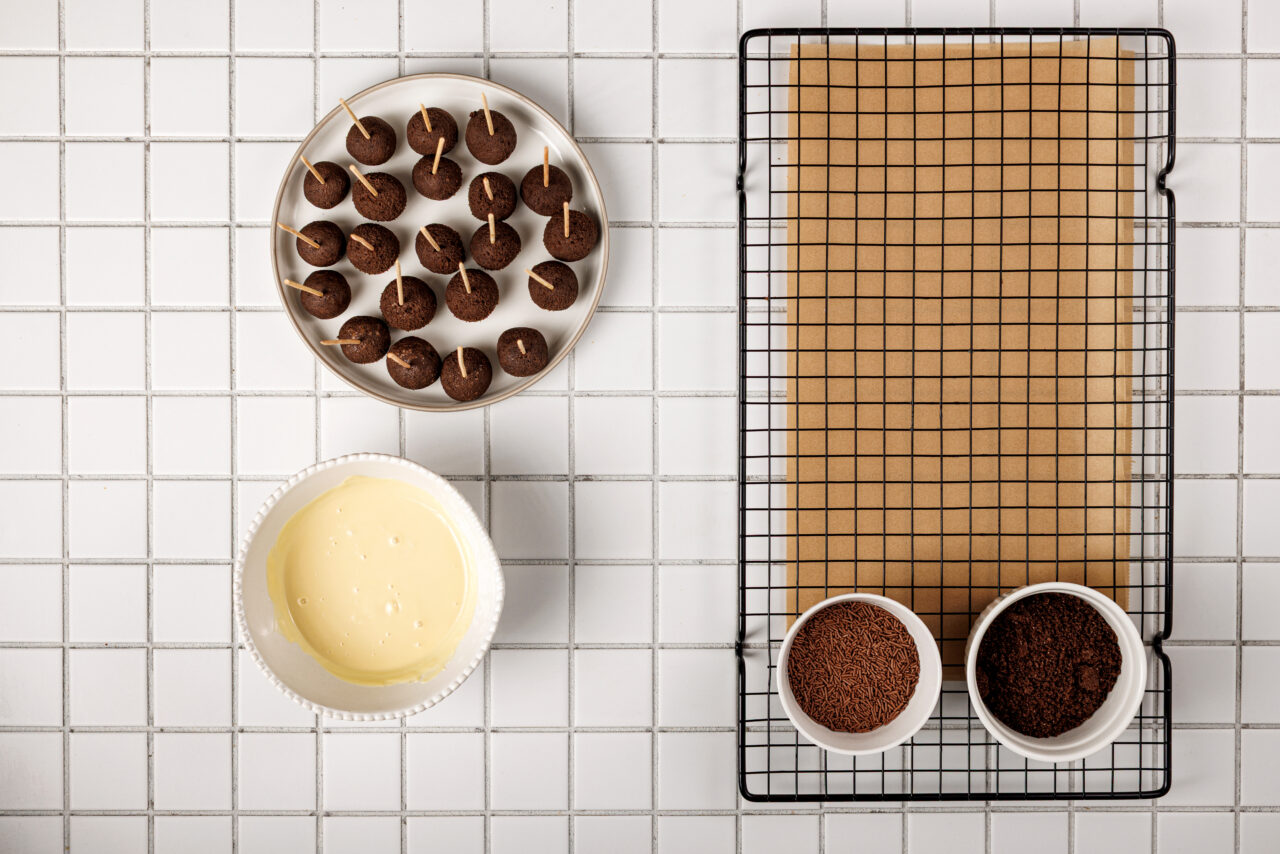
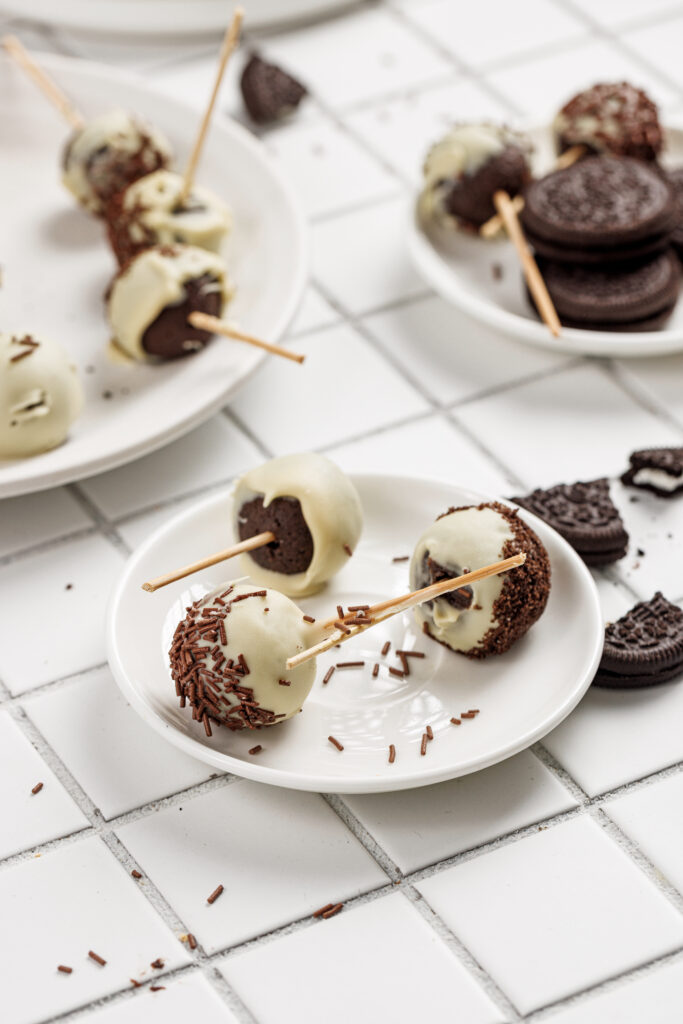
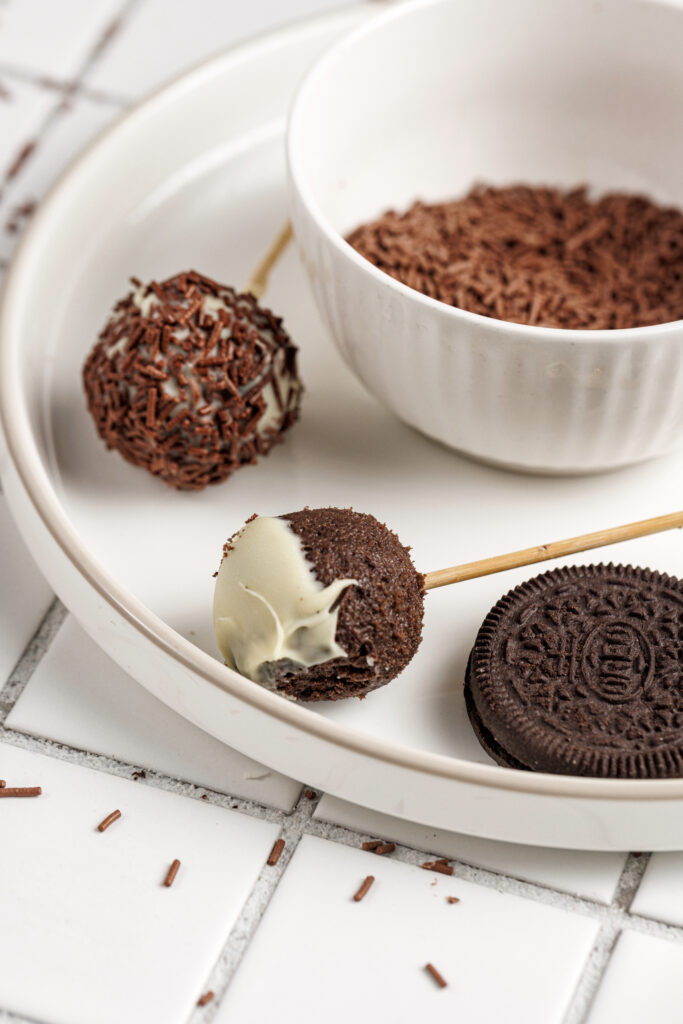
Insert a stick or skewer into each chilled ball. Dip each ball into the melted chocolate, rotating to coat evenly.
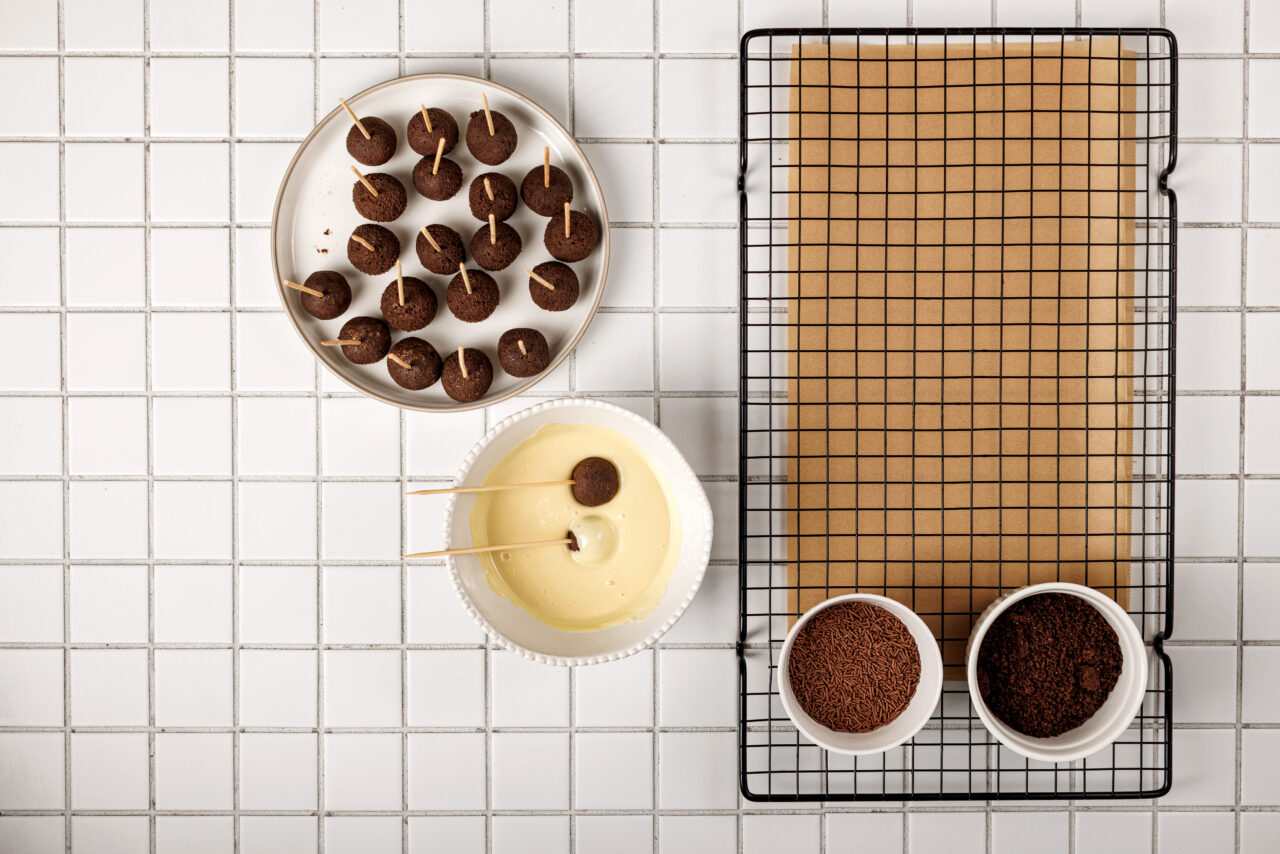
While chocolate is still soft, sprinkle with your choice of toppings. Place pops on parchment paper and let them set at room temperature or in the fridge.
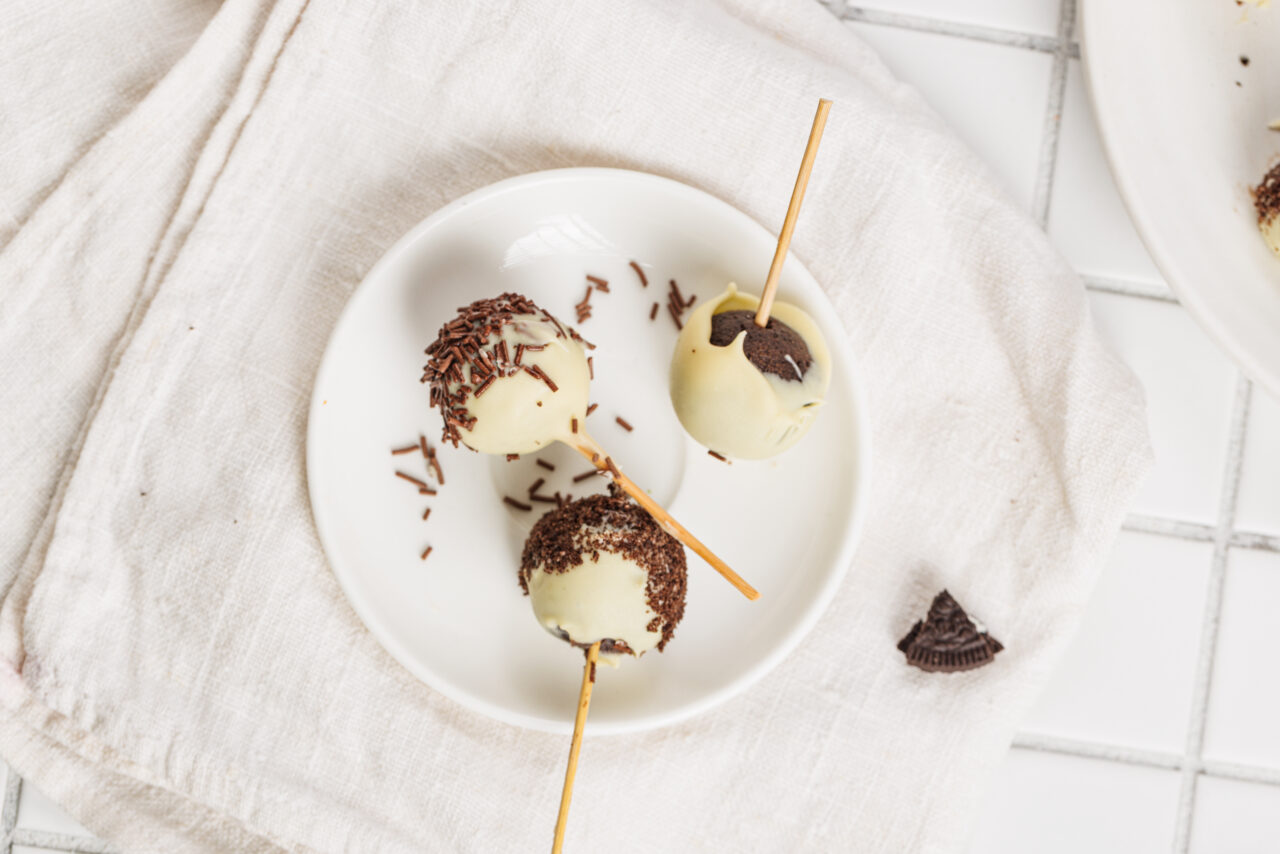
Once the coating is fully hardened, serve and enjoy your no-bake Oreo cheesecake treats!
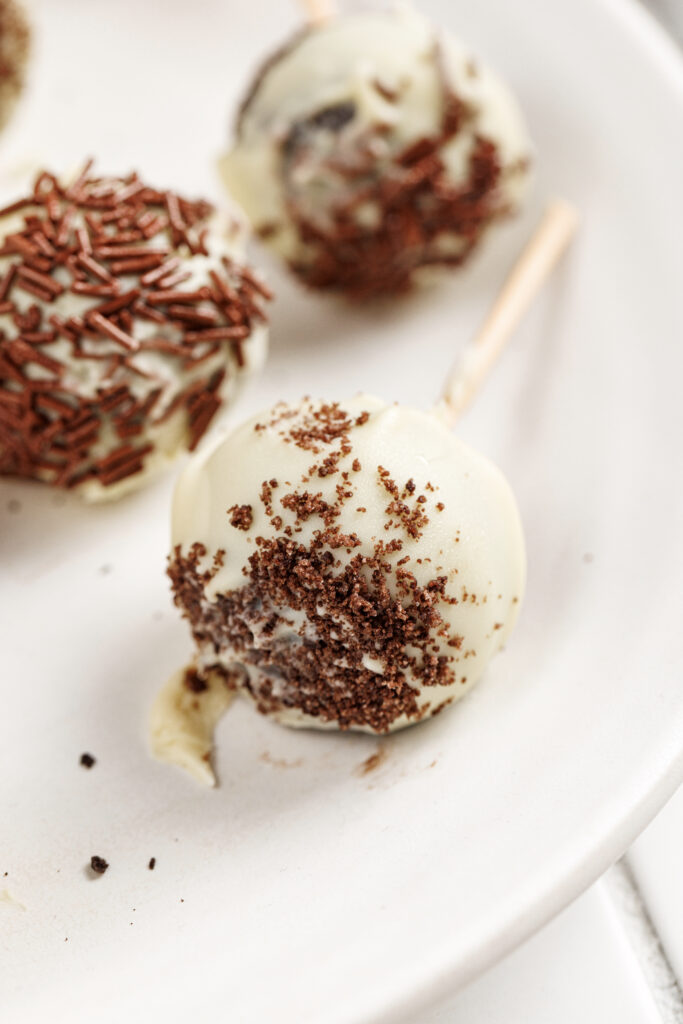
Why You’ll Love These Oreo Cake Pops
These cake pops are incredibly simple to make and require no baking at all, which makes them perfect for beginners or quick desserts.
They use just a few ingredients but still deliver a rich, bakery-style flavour and texture. The creamy centre paired with a crisp chocolate coating makes them irresistible.
They are also easy to customise, making them perfect for birthdays, holidays, potlucks, or themed parties.
Tips for Perfect Oreo Cake Pops
Use full-fat cream cheese for the best texture and flavour. It helps bind the mixture while keeping it smooth and creamy.
If your mixture feels too soft when rolling, chill it for a little longer until it firms up enough to handle easily.
When melting chocolate, heat it slowly and stir often to prevent it from becoming thick or grainy. Adding a small amount of coconut oil helps create a smooth, glossy coating.
Before inserting the sticks, dip the tip into melted chocolate first. This helps anchor the stick and prevents the cake pop from falling off during dipping.
Work quickly when coating and allow excess chocolate to drip off for a clean, even finish.
How to Store Oreo Cake Pops
Store the cake pops in an airtight container in the refrigerator for up to five days.
For longer storage, freeze them for up to two months. It is best to freeze them without decorations if possible.
Before serving, let them sit at room temperature for a few minutes so they soften slightly.
Frequently Asked Questions
Why are my cake pops falling off the stick?
Dip the stick into melted chocolate before inserting it into the cake ball, then chill before dipping.
Can I make these without sticks?
Yes, you can turn them into Oreo truffles instead.
Do I need a food processor?
No, you can crush the cookies in a sealed bag using a rolling pin.
When to Serve These Oreo Cake Pops
These cake pops are perfect for birthday parties, potlucks, and summer BBQs.
They are also great for holidays like Eid, as well as simple treats for kids or guests.
Their bite-sized shape makes them easy to serve and perfect for sharing.
Pro Tip
For a smooth, professional finish, gently tap your wrist after dipping each cake pop to remove excess chocolate and prevent a thick coating.